


 2:34 AM
 Unknown

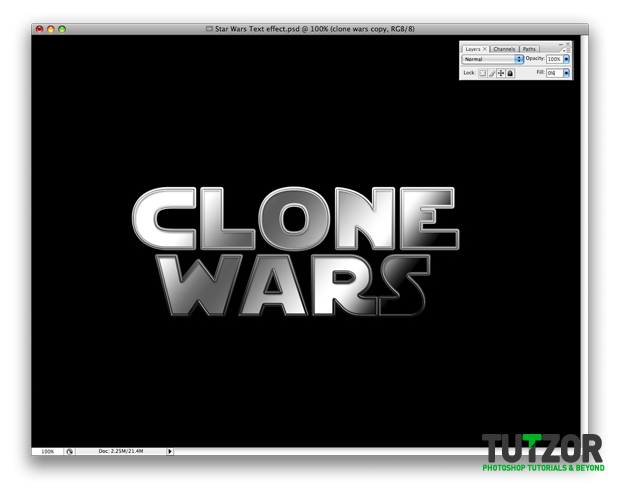
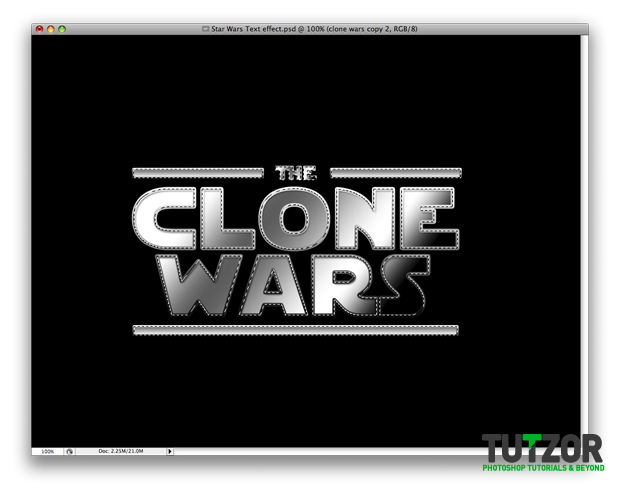
Final Image
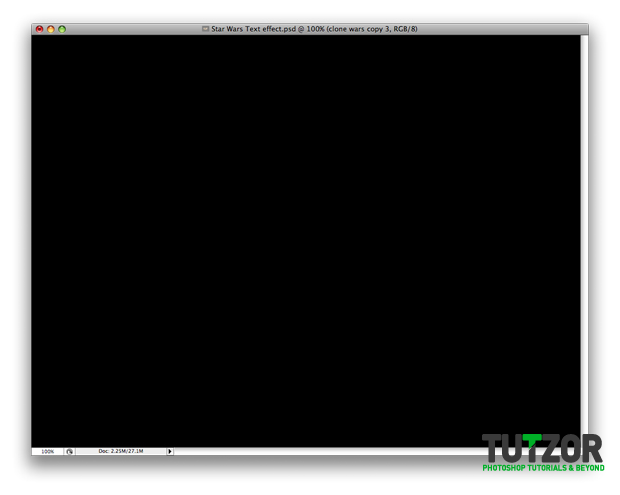
Start with a new black document. Mine is 1024×768.
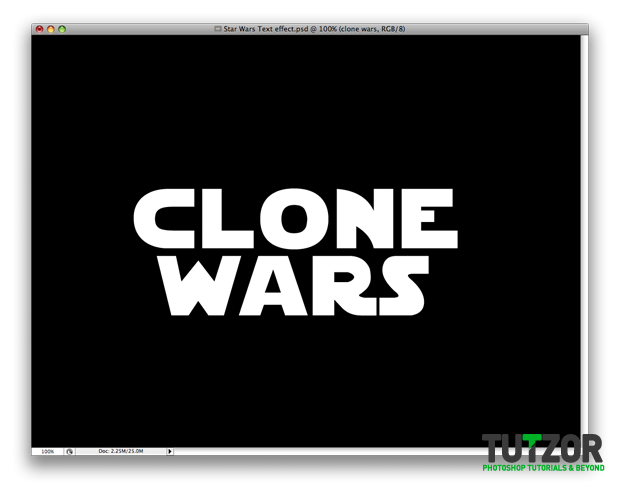
Before you can do anything you will need the Star Wars Font. I found it on here. Now write your text. What I have in mind is to make a nice grunge text to use for a Clone Wars Poster.
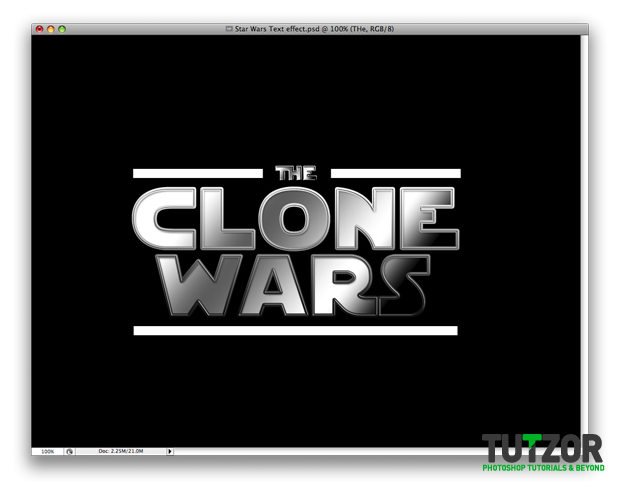
In the next step I will use the Rectangle Tool to make some simple shapes.
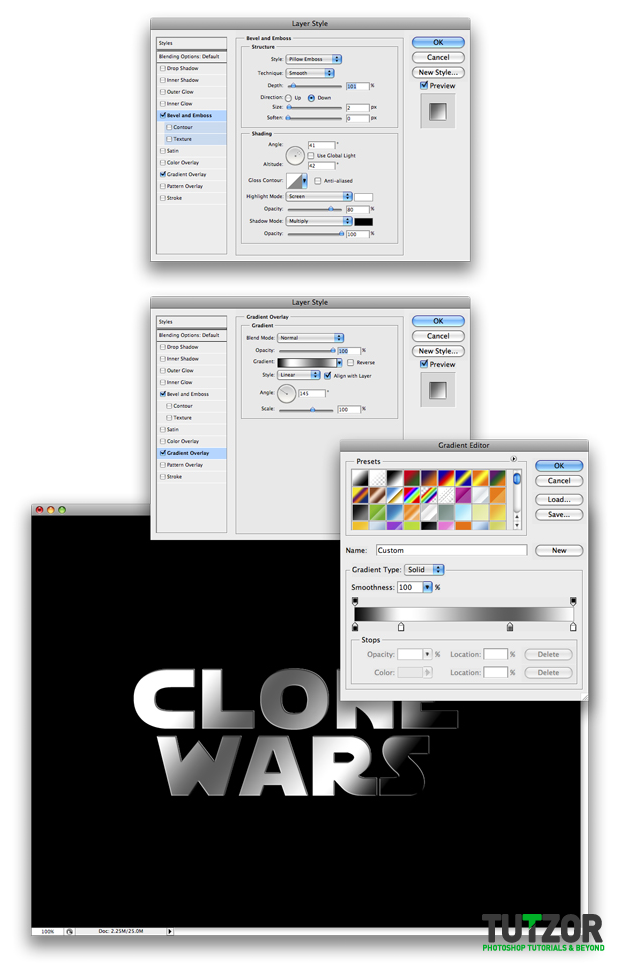
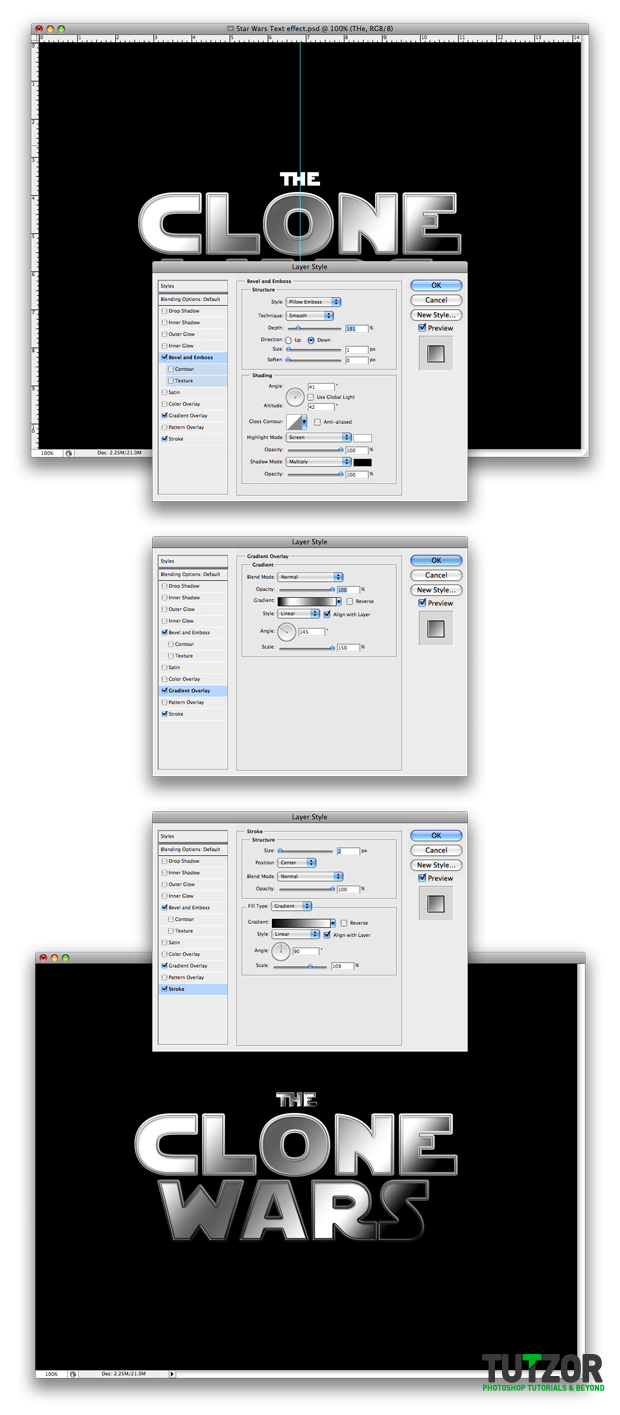
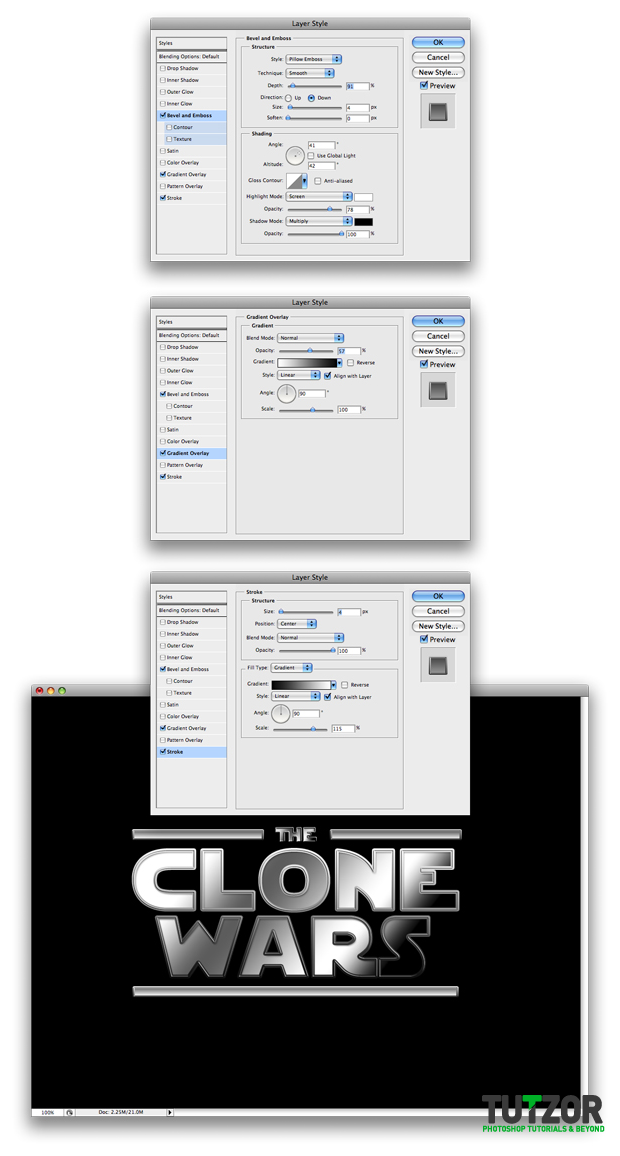
Now for all these 3 shapes add my settings for the Blending Options.
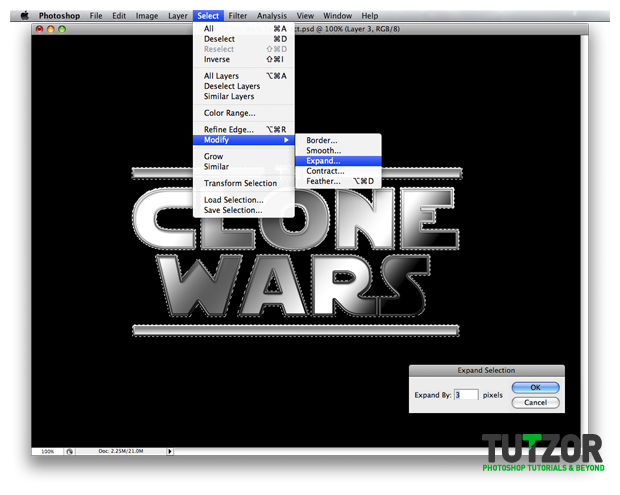
Make a new layer over all the layers and name it Gold. Ctrl + Click on all the layer thumbnails to make a selection.
Next go to Select – Modify – Expand and use 3 pixels.
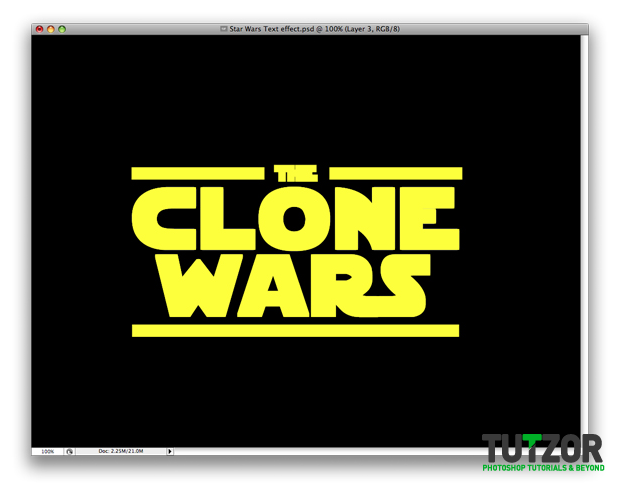
Create a new layer called gold by pressing ctrl+shift+n (for PC) or command+shift+n (for mac) Make sure you have the Gold layer selected. Set the foreground color to #fcff00 and fill the Gold layer with this color.
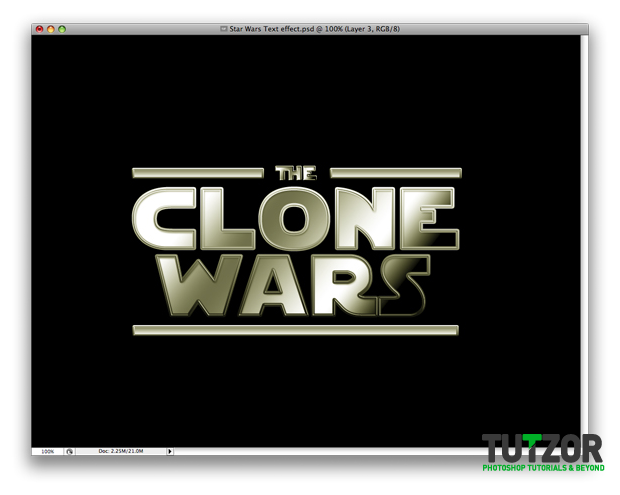
Set the layer to Soft Light and Opacity to 35%.
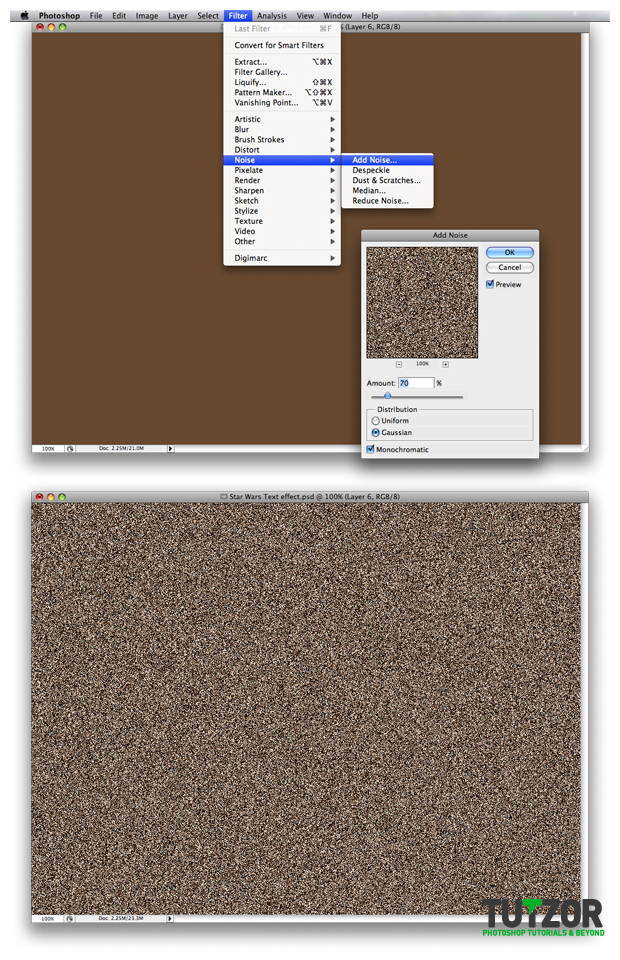
Make a new layer and name it texture. Fill the layer with #7e4f2f. Next go to Filter – Noise – Add noise and use my settings.
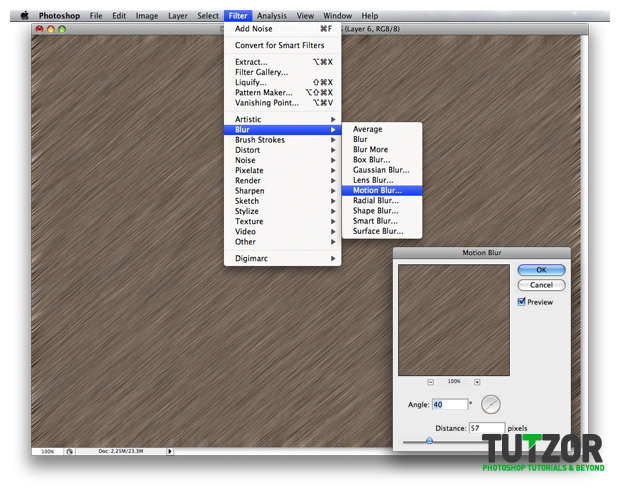
Next go to Filter – Blur – Motion Blur and again use my settings:
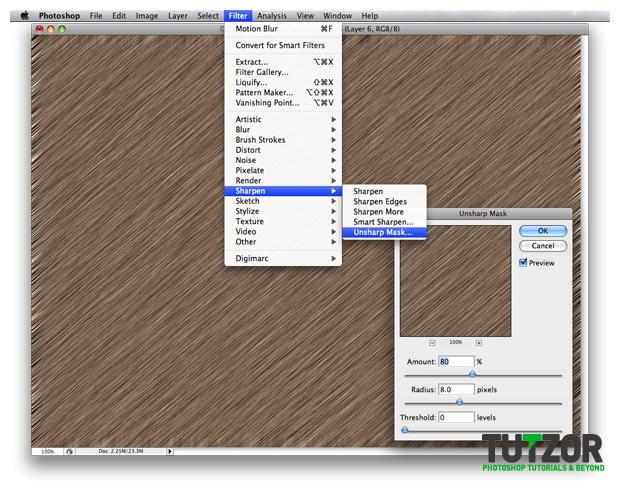
Next you need to add one more effect to this texture. Go to Filter – Sharpen – Unsharp Mask and again use my settings:
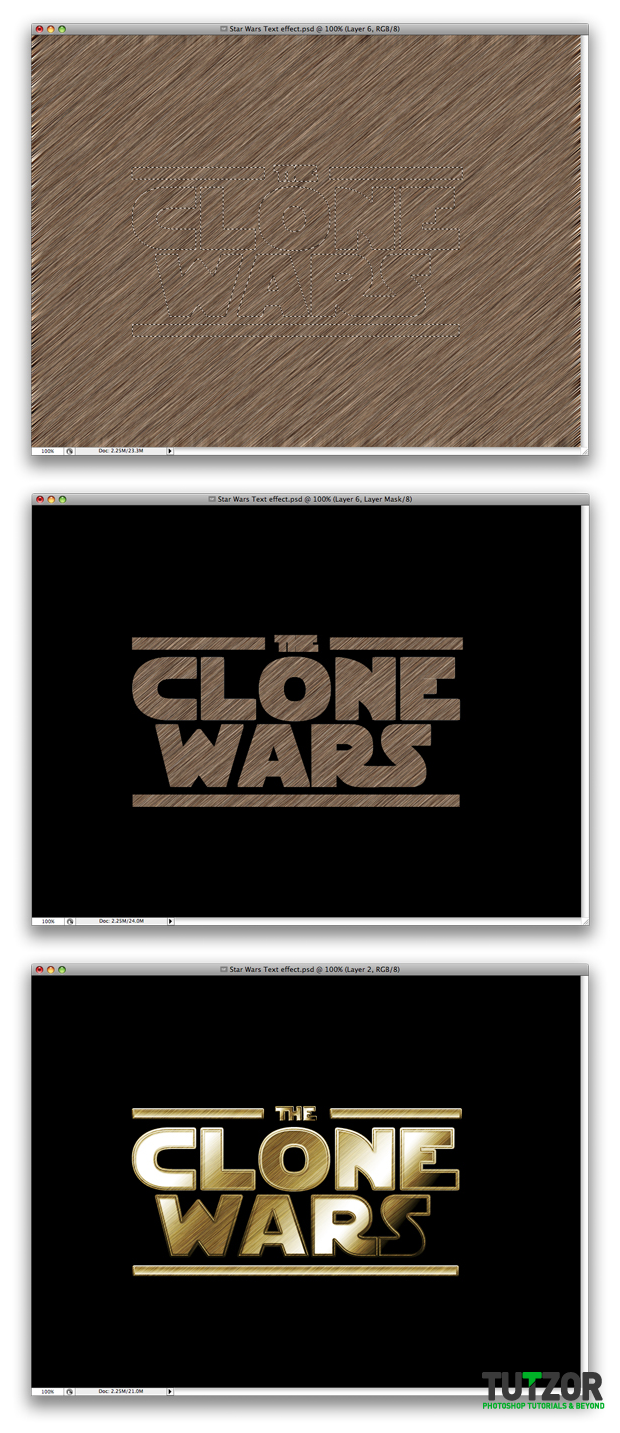
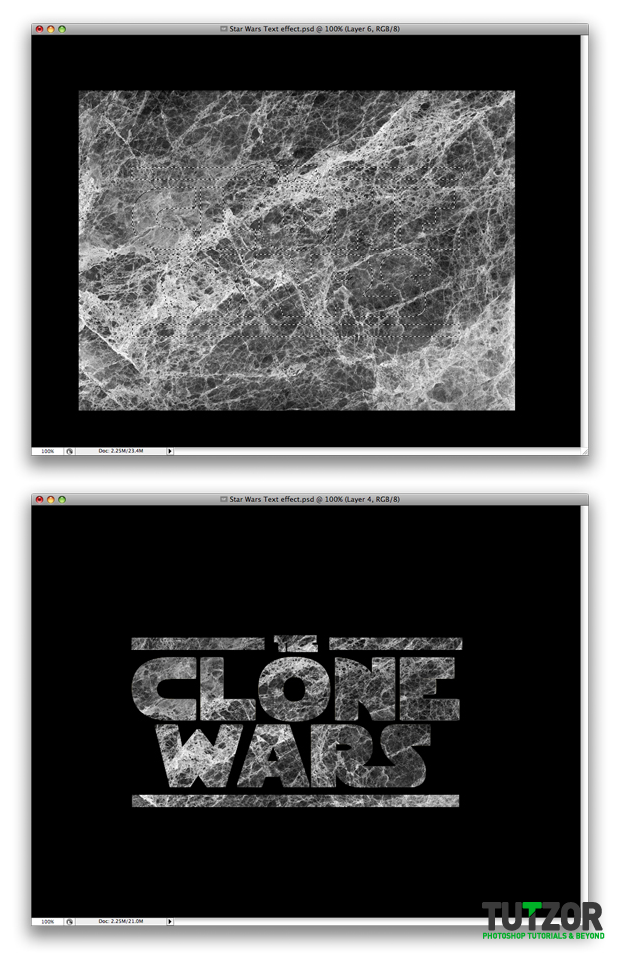
Ctrl + Click on the Gold layer thumbnail to make a selection. Now that the text is selected make sure you have the texture layer selected and Add a layer Mask. Last set the layer to Overlay.
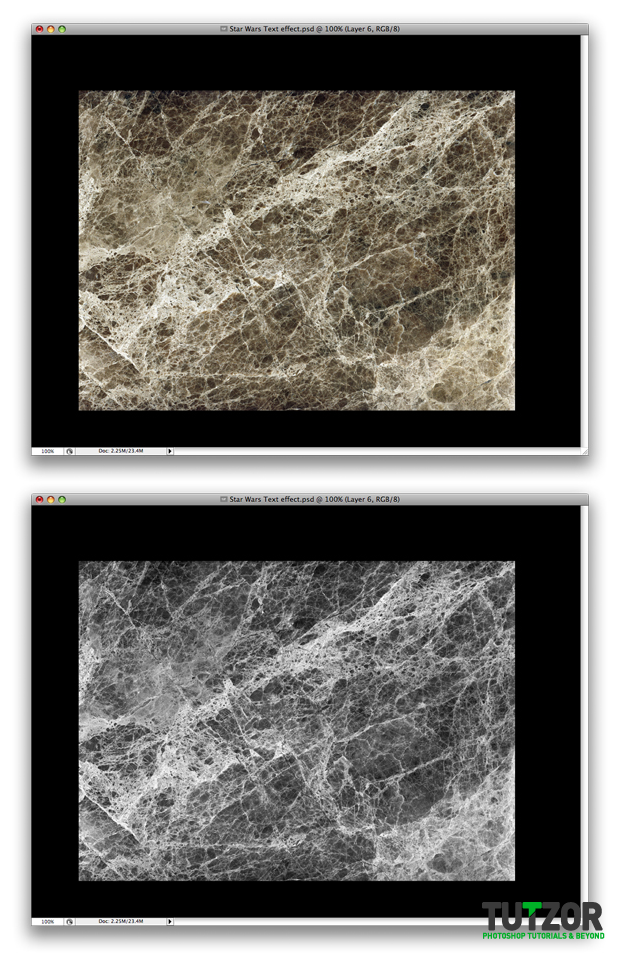
Next I will bring in a texture that I found on this link: 5http://www.sxc.hu/browse.phtml?f=view&id=99574 I have imported the texture to the document and resized it so it will fit into my image size. Next you need to go to Image – Adjustments – Desaturate to make the image Black and White. Sorry, the link is not working now :( You add another texture of a broken glass. :D
Again as we did with the first texture we need to make a selection of the text and Add a Mask to the layer. So please do that right now. Basically you will repeat Step 16 but this time for a different layer.
The last thing we will do for this second texture is to set it to 63% Opacity and Overlay.
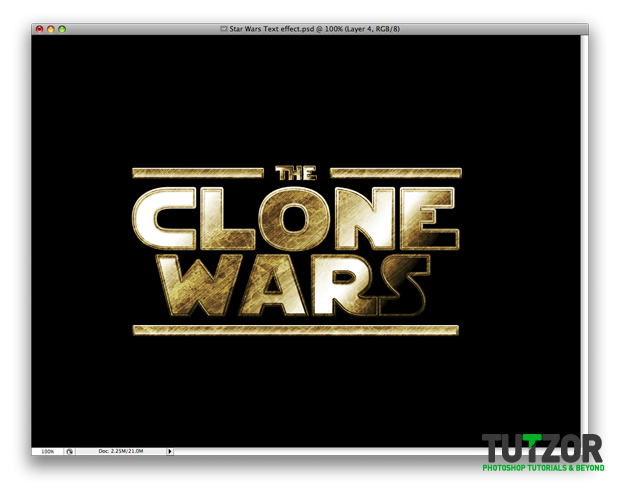
You are finished. If you want you can add some more lights or shadows to the text.

Tutorial is taken from tutzor.com
 Posted in:


1 comments:
meloooooo rahak na
Post a Comment